This guide provides a short guide on setting up a 30-day, fully functional trial of Approvals Center within your SharePoint Online environment. The procedure for adding applications to SharePoint Online is straightforward and manageable for any SharePoint tenant administrator. The installation involves a two-phase approach. Initially, the App must be incorporated into the SharePoint App Catalog. Subsequently, it can be deployed to the chosen site. The SharePoint App Catalog serves as a centralized repository for managing and distributing both custom and third-party apps, making them accessible for download throughout various site collections. For additional details about the SharePoint App Catalog, follow this link. The installation process described below utilizes the modern SharePoint Framework (SPFx) app model (not legacy add-in model).
Add an app to the SharePoint Online Tenant App Catalog
Step 1) Download the (SPFx) app installation package from our website by clicking on the below button.
Download the app installation package
Step 2) Go to More features in the SharePoint Admin Center , and sign in with an account that has admin permissions for your organization.
Step 3) Click on the button Open under the section "Apps" -> click Click on link "Upload -> select downloaded file (Approvals Center SPFx.sppkg) -> click button "Enable app"

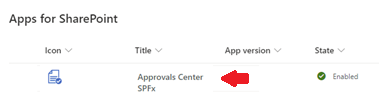
After performing the above steps, the app should be listed in the SharePoint App Catalog:
Install the app on the desired SharePoint Site
Step 1) Open SharePoint Site Collection where you want to install an app (for example main intranet site)
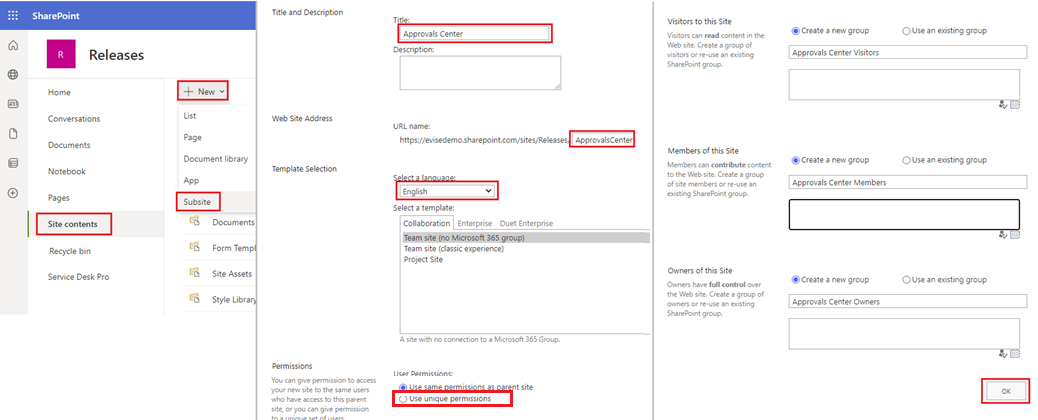
Step 2) Create a new SharePoint sub-site for the app. Please enter site name (field "Title"), enter site URL(field "Web Site Address"), site language (must be English) and switch option "User Permissions" to the value "Use unique permissions" (marked in red on below image). The rest of the settings can be defaulted.
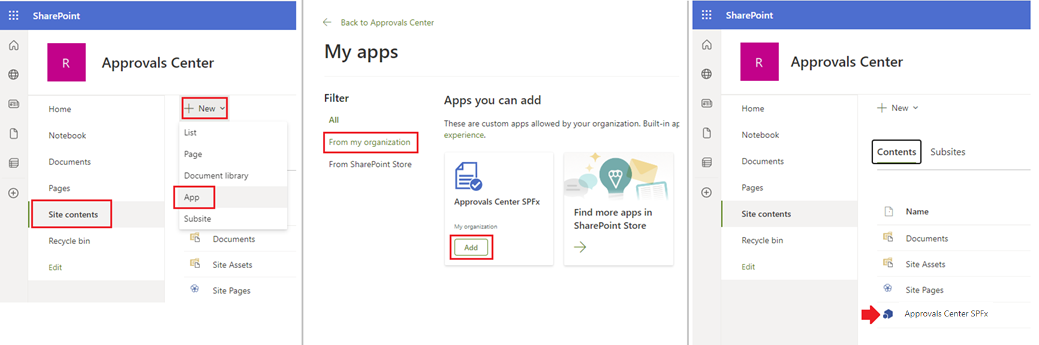
Step 3) Add an app to the newly created subsite (Site Contents->New->App->"From my organization"->click "Add" under the item "Approvals Center SFPx").
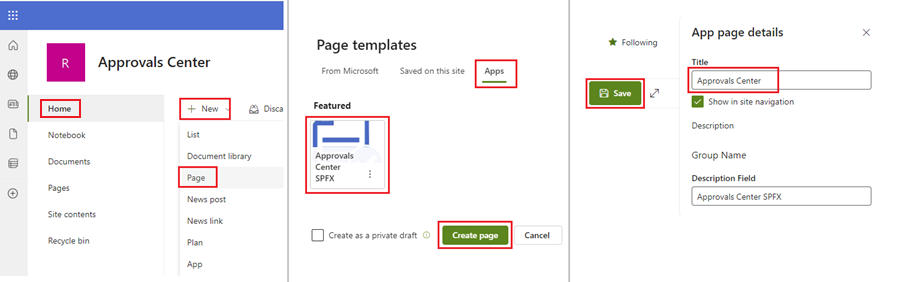
Step 4) Add an app to the newly created subsite (button "New"->Page->tab "Apps"->select "Approvals Center SFPx"->click "Create Page"->enter site name and click "Save")
After performing the above steps you should see a welcome page with two buttons.

Step 5) Pin the app to SharePoint menu, Office 365 app launcher of Microsoft Teams
Use instructions from this guide to pin an app to different places in Microsoft 365 and provide easy app access to end-users.